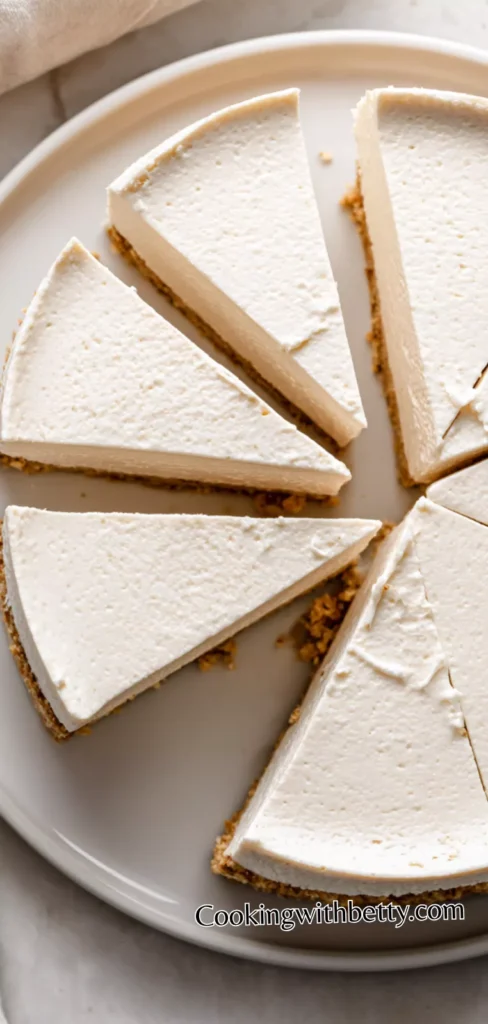
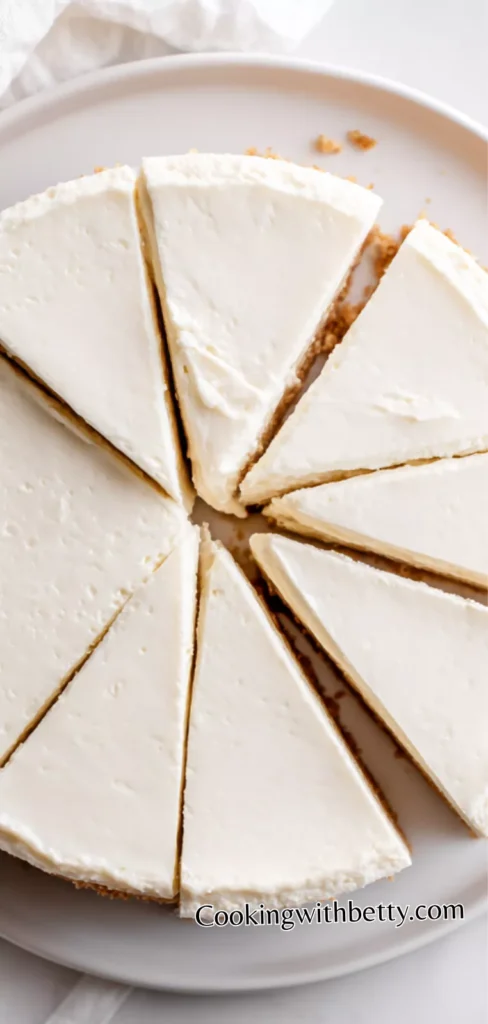
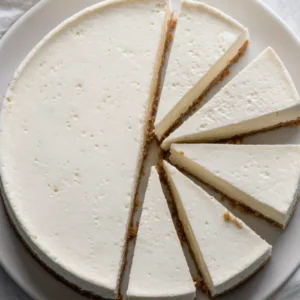
My mother always loved making sweets for special occasions, but she never enjoyed complicated baking recipes that required long oven time. She used to say baking takes too much patience, especially when the weather is hot or the kitchen feels crowded. That is why she started making no-bake desserts, and this cheesecake quickly became one of her favorites because it was simple, quick, and always turned out perfect. Easy No Bake Peppermint Cheesecake is a soft, creamy dessert that feels refreshing, festive, and comforting at the same time. It has a smooth cheesecake filling blended with cool peppermint flavor and a buttery graham cracker crust that gives a gentle crunch in every bite.
This cheesecake is especially loved during the holiday season because peppermint brings a cool, winter-like freshness that pairs beautifully with the rich creaminess of the filling. It looks elegant when served, especially with crushed candy canes and whipped cream on top. Every slice feels light yet indulgent, making it a favorite for gatherings and family celebrations.
I have a small kitchen with basic tools, but I still make this cheesecake easily and confidently. I use a hand mixer, a mixing bowl, and a simple springform pan to keep everything neat and smooth. Always, I make sure the cream cheese is soft before mixing because it helps create that perfect creamy texture without lumps, and I never rush the chilling time because it makes a big difference in firmness.
You can serve Easy No Bake Peppermint Cheesecake as a chilled dessert after lunch or dinner, especially during Christmas or winter gatherings. It is also perfect for parties because you can prepare it a day ahead and simply take it out when needed.
Its Perfect For:
- Christmas and holiday celebrations
- Family dessert nights
- Birthday parties with a winter theme
- Make-ahead desserts for busy days
- No-bake dessert lovers
Ingredients
- 1 1/2 cups crushed graham crackers
- 1/4 cup melted butter
- 2 tablespoons sugar
- 16 oz (450g) cream cheese, softened
- 1 cup heavy whipping cream
- 3/4 cup powdered sugar
- 1 teaspoon peppermint extract
- 1/2 teaspoon vanilla extract
- 1/2 cup crushed peppermint candies or candy canes
- A few drops red or pink food coloring (optional)
- Whipped cream (for topping, optional)
- Extra crushed peppermint candies (for topping, optional)
- Chocolate drizzle (for topping, optional)
Kitchen Equipment You’ll Need
- Mixing bowls (large and medium)
- Hand mixer or stand mixer
- Spatula for folding
- Springform pan or cake pan
- Measuring cups and spoons
- Refrigerator space for chilling
How to make Easy No Bake Peppermint Cheesecake
Step 1
Prepare the crust: In a bowl, mix the crushed graham crackers, melted butter, and sugar until the texture looks like damp sand and everything is evenly coated. Press the mixture firmly into the bottom of a springform pan or lined cake pan, making sure it is tightly packed so the crust holds together when sliced. Chill in the refrigerator while preparing the filling so it sets properly.
Step 2
Make the cheesecake filling: In a large mixing bowl, beat the softened cream cheese until completely smooth and creamy with no lumps. Add powdered sugar, vanilla extract, and peppermint extract, then continue mixing until fully combined and silky. In a separate bowl, whip the heavy cream until stiff peaks form and it becomes thick and fluffy. Gently fold the whipped cream into the cream cheese mixture using slow, sweeping motions so the filling stays airy and light.
Step 3
Add peppermint flavor: Fold in the crushed peppermint candies carefully so they are evenly spread throughout the mixture. If using food coloring, add a few drops and lightly swirl it through the filling for a subtle candy-cane effect rather than fully mixing it in.
Step 4
Assemble the cheesecake: Remove the crust from the refrigerator and pour the filling on top. Spread it evenly with a spatula, smoothing the surface so it looks clean and level. Lightly tap the pan on the counter to release any trapped air bubbles and help the filling settle into place.
Step 5
Chill and set: Cover and refrigerate the cheesecake for at least 4–6 hours, or overnight for best results. This allows it to fully firm up and develop a creamy, sliceable texture.
Step 6
Serve: Carefully remove from the pan and place on a serving plate. Top with whipped cream, extra crushed peppermint candies, and a drizzle of chocolate if desired. Slice with a warm knife for clean edges and serve chilled.
Tips
- Always soften cream cheese first
Cold cream cheese creates lumps in the filling
Leave it out for 30–40 minutes before mixing - Whip cream until stiff peaks form
This keeps the cheesecake light and fluffy
Do not overwhip or it may become grainy - Press crust firmly and evenly
A tight crust holds the filling better when slicing
Use a glass or spoon base for firm pressing - Chill long enough for best results
Minimum 4–6 hours is required
Overnight chilling gives the perfect texture - Crush peppermint candies finely
Small pieces mix better into the filling
Large chunks can make slicing uneven - Add food coloring slowly
Start with just a few drops
Swirl lightly for a pretty candy effect - Use a warm knife for slicing
It gives clean and smooth edges
Wipe between cuts for perfect slices
Optional Ingredients
- White chocolate chips for extra sweetness
- Crushed Oreos for a chocolate crust twist
- Peppermint syrup for stronger mint flavor
- Mini marshmallows for soft bites inside
- Fresh mint leaves for decoration
- Dark chocolate drizzle for contrast
How to serve Easy No Bake Peppermint Cheesecake?
I love serving this cheesecake straight from the fridge because the texture is at its best when it is fully chilled. The filling stays firm but still creamy, and the peppermint flavor feels fresh and cooling on the tongue. I usually let it sit for about 5 minutes at room temperature before slicing so it softens just slightly and becomes easier to cut.
I like to present it on a pretty serving plate or cake stand so it feels special even with simple decoration. A swirl of whipped cream on each slice with crushed candy canes on top adds a festive look without much effort. Sometimes I also drizzle a little melted chocolate over it right before serving for a richer holiday touch.
I enjoy serving it in smaller slices because it is quite rich even though it feels light and airy. It works best as a dessert after a heavy meal since it feels refreshing rather than too heavy. It always gets compliments when I bring it to gatherings because it looks beautiful and tastes very clean and minty.
Is Easy No Bake Peppermint Cheesecake healthy?
Easy No Bake Peppermint Cheesecake is not considered a healthy dessert because it contains cream cheese, sugar, and whipped cream, which are high in fat and calories. However, it can still be enjoyed as an occasional treat, especially during special celebrations when balance matters more than strict dieting.
On the positive side, it does not require frying or heavy processed oils, and you can adjust ingredients like sugar or use lighter cream cheese to make it slightly better. It is more about enjoyment and comfort rather than nutrition, so portion control is the key.
Variations and Substitutions
- Chocolate Peppermint Version
Add cocoa powder into the filling
Creates a rich chocolate mint flavor
Perfect for chocolate lovers - Oreo Crust Version
Replace graham crackers with crushed Oreos
Gives a deeper chocolate base
Makes it more indulgent and sweet - White Chocolate Peppermint
Mix melted white chocolate into filling
Adds creamy sweetness and richness
Great for festive holiday tables - Dairy-Free Version
Use vegan cream cheese and coconut cream
Still creamy but slightly lighter
Good for lactose-sensitive people - Low-Sugar Version
Replace sugar with a sweetener alternative
Keeps peppermint flavor strong
Better for reduced sugar diets - Extra Mint Version
Increase peppermint extract slightly
Creates a stronger cooling taste
Perfect for mint lovers - Berry Twist Version
Add raspberry or strawberry layers
Gives fruity contrast and color
Makes it more refreshing - Crunchy Layer Version
Add cookie pieces inside filling
Creates surprise texture in each bite
More fun and interesting to eat
How to store, How to reheat
Store the cheesecake in the refrigerator covered tightly with plastic wrap or in an airtight container. It stays fresh for about 4–5 days while maintaining its creamy texture and peppermint flavor. Always keep it chilled because leaving it out too long will soften the structure.
This dessert does not require reheating since it is served cold. If it becomes too soft after sitting outside, simply return it to the fridge for 30–60 minutes until it firms up again before serving.
Frequently Asked Questions About Easy No Bake Peppermint Cheesecake
Can I make this cheesecake without peppermint flavor?
Yes, you can simply leave out the peppermint extract and crushed candies.
It will turn into a classic no-bake vanilla cheesecake instead.
You can also replace peppermint with lemon or almond extract for a new flavor.
How long should I chill the cheesecake?
It should chill for at least 4–6 hours to set properly.
Overnight chilling is even better because it gives a firmer texture.
If you cut it too early, it may be too soft and not hold its shape.
Can I freeze Easy No Bake Peppermint Cheesecake?
Yes, it freezes very well and keeps its flavor.
Wrap it tightly in plastic wrap and then foil to avoid freezer burn.
Thaw it in the refrigerator for a few hours before serving for best texture.
Why is my cheesecake filling not firm?
It may be because the whipped cream was not beaten to stiff peaks.
Another reason could be not enough chilling time in the fridge.
Make sure both steps are done properly for a stable texture.
Easy No Bake Peppermint Cheesecake
Ingredients
- 1 1/2 cups crushed graham crackers
- 1/4 cup melted butter
- 2 tablespoons sugar
- 16 oz 450g cream cheese, softened
- 1 cup heavy whipping cream
- 3/4 cup powdered sugar
- 1 teaspoon peppermint extract
- 1/2 teaspoon vanilla extract
- 1/2 cup crushed peppermint candies or candy canes
- A few drops red or pink food coloring optional
- Whipped cream for topping, optional
- Extra crushed peppermint candies for topping, optional
- Chocolate drizzle for topping, optional
Instructions
- Prepare the crust: In a bowl, mix the crushed graham crackers, melted butter, and sugar until the texture looks like damp sand and everything is evenly coated. Press the mixture firmly into the bottom of a springform pan or lined cake pan, making sure it is tightly packed so the crust holds together when sliced. Chill in the refrigerator while preparing the filling so it sets properly.
- Make the cheesecake filling: In a large mixing bowl, beat the softened cream cheese until completely smooth and creamy with no lumps. Add powdered sugar, vanilla extract, and peppermint extract, then continue mixing until fully combined and silky. In a separate bowl, whip the heavy cream until stiff peaks form and it becomes thick and fluffy. Gently fold the whipped cream into the cream cheese mixture using slow, sweeping motions so the filling stays airy and light.
- Add peppermint flavor: Fold in the crushed peppermint candies carefully so they are evenly spread throughout the mixture. If using food coloring, add a few drops and lightly swirl it through the filling for a subtle candy-cane effect rather than fully mixing it in.
- Assemble the cheesecake: Remove the crust from the refrigerator and pour the filling on top. Spread it evenly with a spatula, smoothing the surface so it looks clean and level. Lightly tap the pan on the counter to release any trapped air bubbles and help the filling settle into place.
- Chill and set: Cover and refrigerate the cheesecake for at least 4–6 hours, or overnight for best results. This allows it to fully firm up and develop a creamy, sliceable texture.
- Serve: Carefully remove from the pan and place on a serving plate. Top with whipped cream, extra crushed peppermint candies, and a drizzle of chocolate if desired. Slice with a warm knife for clean edges and serve chilled.
Leave a Reply