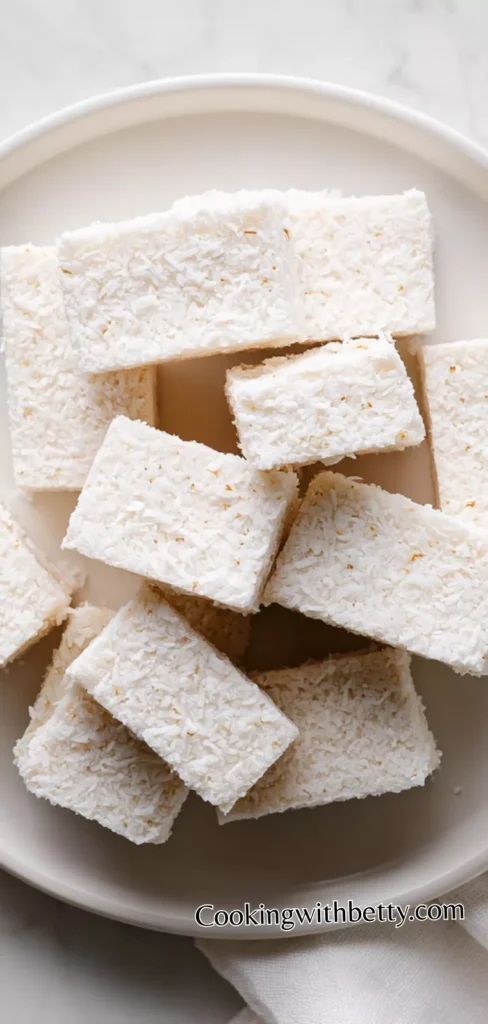
My mother used to prepare traditional desserts with lots of sugar and butter, but this healthy version is lighter in calories and made with better ingredients. In our home, healthy snacks are important, and this recipe is perfect because it is simple and does not require baking. It is also great for beginners and for anyone who wants a quick homemade treat. Healthy No-Bake Coconut Bars are soft, sweet, and full of natural coconut flavor. They are perfect when you want a dessert that is easy to prepare without turning on the oven.
These bars are made with simple ingredients like coconut, nut butter, and natural sweetener. The texture is rich and slightly chewy, while the taste is naturally sweet and satisfying. I love making this recipe because it feels indulgent, but it is still wholesome and balanced. It is a great option for busy days, family gatherings, or quick snack cravings.
I have simple ingredients in my kitchen, and I use natural peanut butter, shredded coconut, and honey to make these bars. Always I choose unsweetened coconut to keep the recipe healthy and balanced. This helps control the sweetness and keeps the flavor fresh and clean.
You can serve these bars as a snack, a light dessert, also with coffee or tea. They are perfect for lunchboxes, after-school treats, or even small parties.
Its Perfect For:
- Healthy dessert lovers
- Quick no-bake recipes
- Family snacks
- Meal prep days
- Summer treats
Ingredients
- 2 cups shredded unsweetened coconut
- 1 cup almond flour
- 1/3 cup honey or pure maple syrup
- 1/2 cup natural peanut butter or almond butter
- 1/4 cup coconut oil, melted
- 1 teaspoon vanilla extract
- 1/4 teaspoon salt
- 1/2 cup dark chocolate chips (optional, for topping)
Kitchen Equipment You’ll Need
- Mixing bowls
- Measuring cups and spoons
- Spatula or wooden spoon
- 8×8-inch baking pan
- Parchment paper
- Refrigerator
- Sharp knife
How to Make Healthy No-Bake Coconut Bars
Step 1
Prepare the mixture: In a large mixing bowl, combine the shredded coconut, almond flour, and salt. Stir well so the dry ingredients are evenly distributed. In a separate microwave-safe bowl, gently melt the coconut oil and nut butter together, heating in short 20–30 second intervals and stirring in between until smooth and creamy. Add the honey (or maple syrup) and vanilla extract, then mix everything until fully combined and glossy.
Step 2
Combine everything: Pour the wet mixture into the bowl with the dry ingredients. Stir thoroughly using a spatula or wooden spoon until a thick, sticky dough forms. Make sure there are no dry spots left. The mixture should hold together when pressed between your fingers. If it feels too dry, add a small extra drizzle of honey or a little more melted coconut oil.
Step 3
Press into pan: Line an 8×8-inch baking pan with parchment paper, leaving some overhang for easy removal. Transfer the mixture into the pan and press it down firmly using the back of a spoon or your hands. Press evenly so the surface is smooth and compact. The firmer you press, the better the bars will hold their shape after chilling.
Step 4
Add chocolate topping (optional): If using chocolate, melt the dark chocolate chips in the microwave in short intervals, stirring each time until smooth. Spread the melted chocolate evenly over the top layer of the coconut mixture. Gently tap the pan on the counter to help the chocolate settle smoothly.
Step 5
Chill the bars: Place the pan in the refrigerator and chill for at least 1–2 hours, or until completely firm. This step is important so the bars set properly and can be sliced cleanly.
Step 6
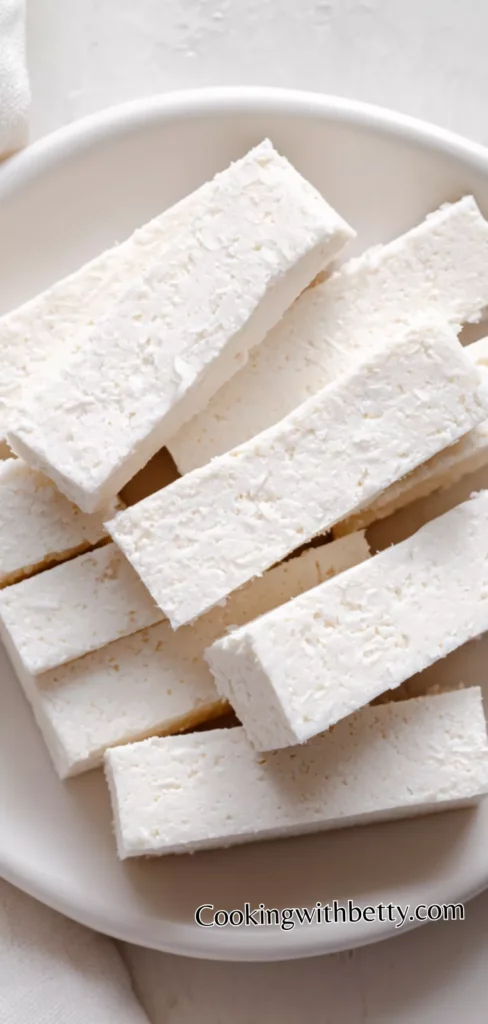
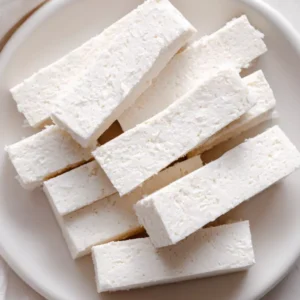
Slice and serve: Once firm, lift the bars out of the pan using the parchment paper. Place on a cutting board and slice into even squares or rectangles using a sharp knife. Store in an airtight container in the refrigerator until ready to serve.
Helpful Tips
- Use unsweetened coconut.
This keeps the bars healthier.
It prevents the recipe from becoming too sweet. - Press the mixture firmly.
Strong pressing helps the bars hold shape.
It also makes them slice neatly later. - Chill long enough.
At least 1–2 hours is important.
This step helps the bars become firm and stable. - Use natural nut butter.
Choose one without added sugar.
It improves both taste and nutrition. - Line the pan properly.
Use parchment paper with overhang.
This makes removing the bars very easy. - Add chocolate carefully.
If using topping, spread it evenly.
Let it set completely before cutting. - Store in the fridge.
These bars stay fresh when cold.
They taste best when slightly chilled.
Optional Ingredients
- Dark chocolate chips
- Chia seeds
- Flaxseeds
- Vanilla protein powder
- Dried cranberries (unsweetened)
- Almond slices
How to Serve Healthy No-Bake Coconut Bars?
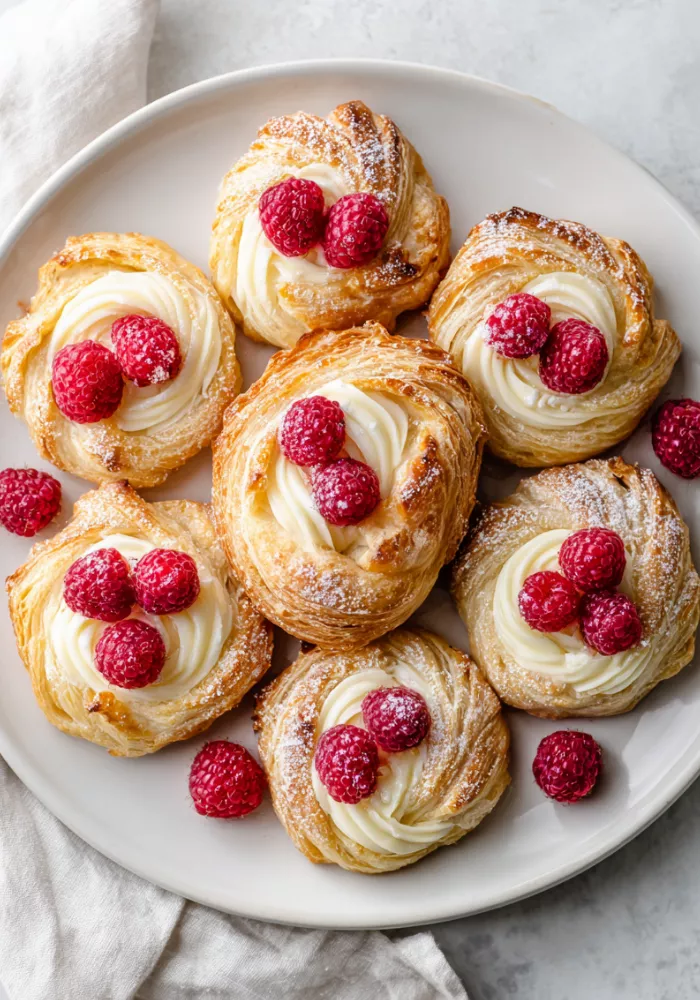
I like to serve these coconut bars chilled because the texture becomes firm, smooth, and refreshing when cold. When they are fully set, they slice beautifully and look neat on a dessert plate. I often cut them into small squares for family gatherings so everyone can enjoy a light sweet bite without feeling too full. They also look very pretty when placed on a simple plate with fresh berries or a light sprinkle of shredded coconut on top.
I also serve them with warm drinks like coffee, tea, or hot chocolate. The contrast between the cold bars and a warm drink makes the experience more enjoyable. Sometimes I wrap each bar individually in parchment paper so they are easy to carry in lunchboxes or for picnics. This makes them practical, clean, and convenient for busy days.
I enjoy serving these bars during small celebrations, movie nights, or afternoon snacks. They are simple but elegant, and they always feel homemade and thoughtful. Because they are no-bake, I can prepare them ahead of time and keep them ready in the refrigerator whenever needed. This helps me stay organized and stress-free when guests arrive.
Is No-Bake Coconut Bars Healthy?
Yes, these bars are healthier than many traditional desserts because they use natural sweeteners and simple ingredients. They contain healthy fats from coconut and nut butter, and they do not require refined flour or baking. When enjoyed in reasonable portions, they can fit well into a balanced lifestyle.
They are also a better choice compared to processed sweets because you control the ingredients at home. This means less artificial additives and more natural flavor in every bite.
Variations and Substitutions
- Keto Version
Use sugar-free sweetener instead of honey.
Keep coconut and nut butter.
Add a little extra coconut oil for firmness.
This reduces carbohydrates. - Vegan Version
Replace honey with maple syrup.
Use plant-based ingredients only.
Keep everything dairy-free.
Still tastes naturally sweet. - Protein Version
Add vanilla protein powder.
Reduce almond flour slightly.
Mix well to avoid dryness.
Great for fitness snacks. - Chocolate Coconut Version
Mix cocoa powder into the base.
Add chocolate chips inside.
Makes a richer flavor.
Perfect for chocolate lovers. - Nut-Free Version
Use sunflower seed butter.
Avoid almond flour if needed.
Keep coconut as main ingredient.
Safe for nut allergies. - Energy Bite Style
Roll mixture into small balls.
Chill them individually.
Great for quick snacks.
Easy to pack and carry. - Fruit Add-In Version
Add chopped dried mango.
Use unsweetened fruit only.
Keeps natural sweetness.
Adds extra texture. - Crunchy Version
Add crushed nuts or seeds.
Mix lightly before pressing.
Creates extra bite.
Makes bars more interesting.
How to Store and Reheat
Store Healthy No-Bake Coconut Bars in an airtight container in the refrigerator. They stay fresh for up to one week when properly covered. Keeping them cold helps maintain their shape and texture. If stacking, place parchment paper between layers to prevent sticking.
These bars do not need reheating because they are best served cold. If they become too firm, leave them at room temperature for 5–10 minutes before serving. This slightly softens the texture and makes them easier to enjoy.
Frequently Asked Questions About No-Bake Coconut Bars
How long do Healthy No-Bake Coconut Bars need to chill?
They should chill for at least 1–2 hours to become firm.
If you want cleaner cuts, chilling them longer is even better.
Overnight chilling gives the best texture and shape.
Can I make these bars without nut butter?
Yes, you can use sunflower seed butter as a substitute.
It keeps the recipe creamy and helps hold everything together.
Just make sure it is smooth and natural for best results.
What can I do if the mixture is too sticky?
If it feels too wet, add a little more almond flour or coconut.
Mix slowly until the texture becomes thick and easy to press.
The mixture should hold together when squeezed in your hand.
Why did my bars fall apart after cutting?
They may not have chilled long enough.
Also, pressing the mixture firmly into the pan is very important.
Using parchment paper helps remove them without breaking.
Healthy No-Bake Coconut Bars
Ingredients
- 2 cups shredded unsweetened coconut
- 1 cup almond flour
- 1/3 cup honey or pure maple syrup
- 1/2 cup natural peanut butter or almond butter
- 1/4 cup coconut oil melted
- 1 teaspoon vanilla extract
- 1/4 teaspoon salt
- 1/2 cup dark chocolate chips optional, for topping
Instructions
- Prepare the mixture: In a large mixing bowl, combine the shredded coconut, almond flour, and salt. Stir well so the dry ingredients are evenly distributed. In a separate microwave-safe bowl, gently melt the coconut oil and nut butter together, heating in short 20–30 second intervals and stirring in between until smooth and creamy. Add the honey (or maple syrup) and vanilla extract, then mix everything until fully combined and glossy.
- Combine everything: Pour the wet mixture into the bowl with the dry ingredients. Stir thoroughly using a spatula or wooden spoon until a thick, sticky dough forms. Make sure there are no dry spots left. The mixture should hold together when pressed between your fingers. If it feels too dry, add a small extra drizzle of honey or a little more melted coconut oil.
- Press into pan: Line an 8×8-inch baking pan with parchment paper, leaving some overhang for easy removal. Transfer the mixture into the pan and press it down firmly using the back of a spoon or your hands. Press evenly so the surface is smooth and compact. The firmer you press, the better the bars will hold their shape after chilling.
- Add chocolate topping (optional): If using chocolate, melt the dark chocolate chips in the microwave in short intervals, stirring each time until smooth. Spread the melted chocolate evenly over the top layer of the coconut mixture. Gently tap the pan on the counter to help the chocolate settle smoothly.
- Chill the bars: Place the pan in the refrigerator and chill for at least 1–2 hours, or until completely firm. This step is important so the bars set properly and can be sliced cleanly.
- Slice and serve: Once firm, lift the bars out of the pan using the parchment paper. Place on a cutting board and slice into even squares or rectangles using a sharp knife. Store in an airtight container in the refrigerator until ready to serve.
Leave a Reply